Many HAB flights now use SSDV to transmit images “live” from the balloon down to the ground, using a camera connected to the flight computer, providing an immediacy that is missing when just flying standalone cameras. Early SSDV flights used serial cameras connected to a microcontroller, but image quality (and, ease of programming) took a step forward when the Raspberry Pi arrived with simple access to webcams. My first SSDV flight and the following 3 used a webcam, sending SSDV down over RTTY.
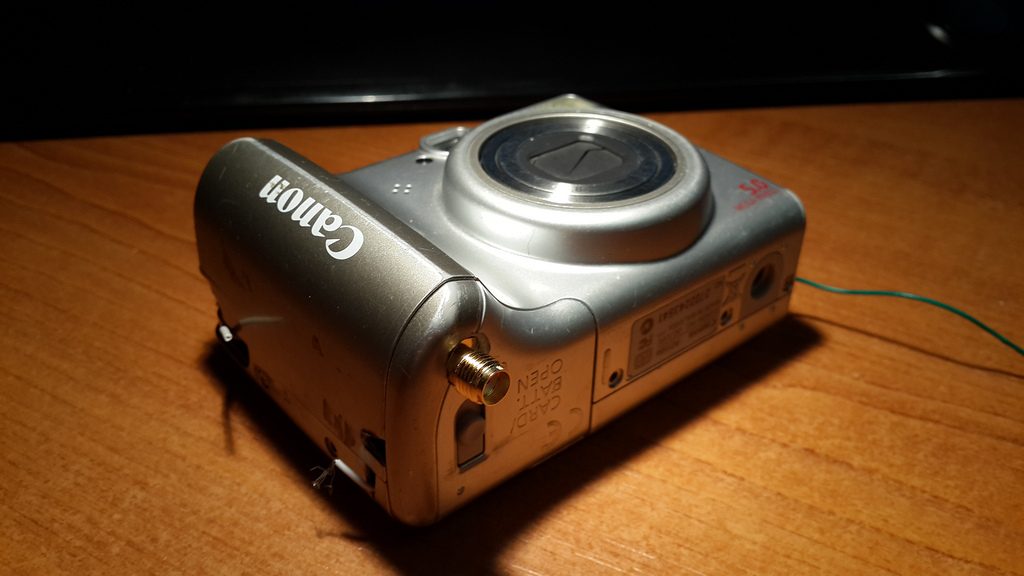
Webcams do not provide great image quality, which then improved when the Raspberry Pi camera came out. There was also some excellent work by Chris Stubbs who managed to program a Canon compact camera to send SSDV directly, again over RTTY.
With RTTY we are limited to sending quite small images – around 500×300 pixels – because larger images take too long to transmit. It is possible to increase the speed from 300 baud to 600, though it then becomes more difficult to receive, or by using the trick of multiple RTTY transmitters on the same tracker, such as this one:
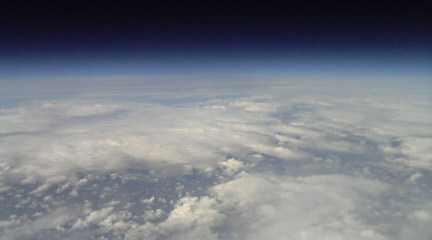
Another option though is to replace RTTY with LoRa, which on 434MHz provides a speed increase of about 4x over typical RTTY speeds, and that increases by another tenfold if using 868MHz (all due to varying bandwidth limits allowed within IR2030). Further, LoRa allows for uploads to repeat any missing packets, and this in the 868MHz band produces some impressive results (the inset is an image from my first Pi SSDV flight, showing the improvement we now have in quality and resolution):

So, these bandwidths allow us to send rather higher quality images than before, to the point that the image compression is limiting quality. With this in mind, Philip Heron added a quality setting to his excellent SSDV encoder/decoder to control the amount of compression applied.
With reduced image compression and higher bandwidths, the remaining factor is camera quality. Whilst the Raspberry Pi cameras (especially the newer Sony) are quite good, they do have tiny sensors and simple plastic lenses. A step up would be to use a compact camera, mirrorless system camera or an SLR. These also potentially offer wider angle lens, making for more impressive HAB photographs. However we need to get those images to the flight computer.
Pretty much every modern camera allows for a USB PTP (Picture Transfer Protocol) connection to a computer, allowing it to be controlled by a computer to a greater or lesser extent. For most cameras all we get to do is download images from the camera – and that’s all that most people need – but we also need to be able to take images under control of our flight computer.
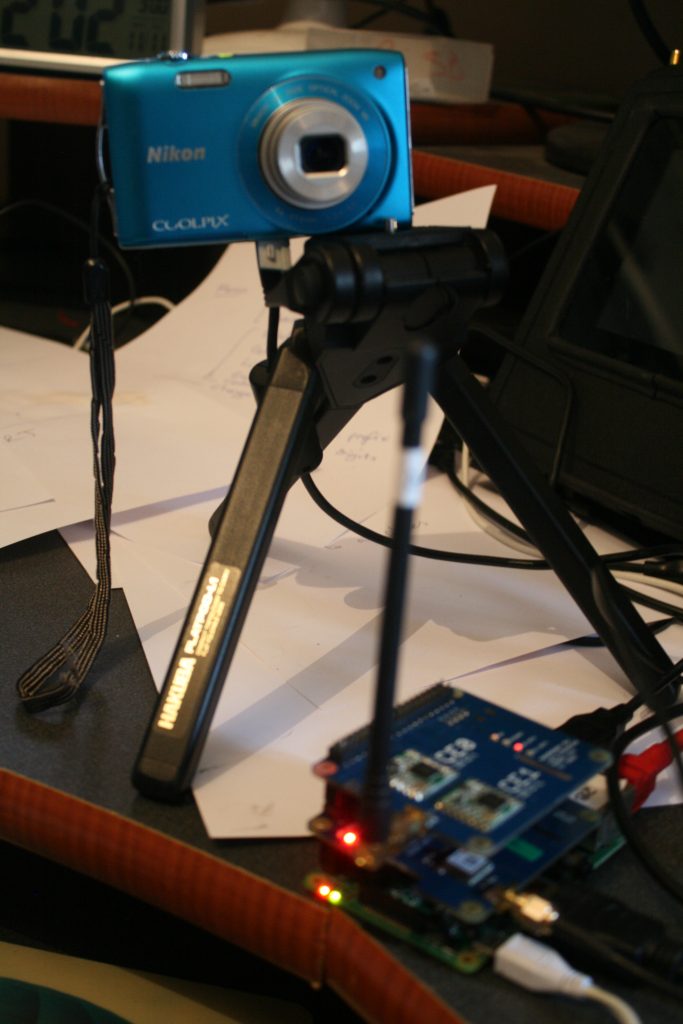
To take and transfer images we can use the Linux program gphoto2, with a compatible camera that includes remote operation (i.e. ability to take an image via a command on the Pi). The compatibility list includes few modern compact cameras, as the remote functions are typically only available on SLRs. Canon, for example, used to include remote capture in their Powershot models but stopped this practice in 2009, presumably to persuade people to buy their SLRs instead. I tested with an old Canon SLR (EOS 400D) and pretty much every function is supported – remote shooting, control of ISO, control of aperture/shutter (if the camera is set to semi-auto or manual mode). However I’m not specially keen on flying something as heavy and solid as an SLR with wide-angle lens, so I checked the compatibility list for smaller, lighter alternatives. Sadly none of my other cameras fitted the bill, so I purchased a Nikon S3300 compact. This provides remote shooting (albeit without any control over aperture etc.), has a wide-angle lens (26mm equivalent for 35mm sensors), 16MP sensor, is small and light, and charges from USB (so the Pi should be able to keep it charged during flight).
Once gphoto2 has been installed (sudo apt-get install gphoto2), then the first thing to do is connect the camera and check that it can bee seen:
gphoto2 --auto-detect
This should produce a result like this:
Model Port
----------------------------------------------------------
Nikon Coolpix S3300 (PTP mode) usb:001,012
So far so good. Now to find out what capabilities the camera offers:
gphoto2 --summary
Which will give you something like this (some parts removed):
Camera summary:
Manufacturer: Nikon Corporation
Model: S3300
 Version: COOLPIX S3300 V1.0
Vendor Extension ID: 0xa (1.0)
Vendor Extension Description: microsoft.com: 1.0;

Capture Formats: JPEG
Display Formats: Association/Directory, Defined Type, JPEG, DPOF, MS AVI, Apple Quicktime, MS Wave

Device Capabilities:
 File Download, File Deletion, File Upload
 Generic Image Capture, No Open Capture, No vendor specific capture

Device Property Summary:
Property 0xd407:(read only) (type=0x6) 1
Property 0xd406:(readwrite) (type=0xffff) ''
Property 0xd002:(readwrite) (type=0x6) Enumeration [1,2,3,4,5,6,7] value: 6
Date & Time(0x5011):(readwrite) (type=0xffff) '20161111T143911'
Flash Mode(0x500c):(readwrite) (type=0x4) Enumeration [1,2,3,4] value: Flash off (2)
Focus Mode(0x500a):(readwrite) (type=0x4) Enumeration [2,3] value: Automatic (2)
Focal Length(0x5008):(read only) (type=0x6) Enumeration [3500,4600,5300,6100,7300,8600,10500] value: 35 mm (3500)
Battery Level(0x5001):(read only) (type=0x2) Enumeration [2,5,25,50,65,80,100] value: 80% (80)
Property 0xd303:(read only) (type=0x2) 1
Form this we can see that the camera supports “Generic Image Capture” (woohoo!) but no control over zoom (focal length is read-only). Given that for a HAB flight I want the lens at its default widest setting anyway, that’s not an issue.
Taking a photo is simple:
gphoto2 --capture-image-and-download --force-overwrite --filename dave.jpg
This will extend the lens if it’s retracted, focus the lens, set the exposure (using whatever options are set within the camera), take a photograph and then download it to the Pi.
For more advanced cameras you may be able to control the exposure manually (aperture and/or shutter), control the ISO etc. The available settings, and the specific commands to set them, vary from camera to camera but your starting point should be to list them all:
gphoto2 --list-config
The latest version of the Pi In The Sky software includes options for the use of cameras via gphoto2 (see instructions in the README). With “Camera=G” in the pisky.txt file, gphoto2 and imagemagick installed, and a compatible camera connected and powered on, then PITS should take images on that camera and transmit them via SSDV.
Unlike with the Pi camera, images are taken at full resolution (or whatever resolution is set within the camera), and are then stored on the Pi SD card at that resolution. The resizing for transmission is then done by imagemagick, which is why that has to be installed.
In testing, the Nikon has been completely reliable, running for 11 hours continuously till eventually the battery was discharged (remember, it charges to some degree over over USB hence the long run time). So this is looking good for a flight. Here’s a sample test image as sent via SSDV/LoRa.

i’m trying do the same, but in my case i can’t capture photos, my raspi only detect the camera nikon coolpix s3300 but it doesn´t allow me capture images.
this message appears.
*** Error ***
An error occurred in the io-library (‘Could not claim the USB device’): Could not claim interface 0 (Operation not permitted). Make sure no other program or kernel module (such as sdc2xx, stv680, spca50x) is using the device and you have read/write access to the device.
ERROR: Could not capture image.
*** Error (-53: ‘Could not claim the USB device’) ***
maybe you know what i should do, my nikon has version 1.1
killall gvfsd-gphoto2 – try this
Thank you for the article. I’m trying to work with a Nikon Coolpix S3300 & Raspberry Pi using the latest version of gphoto2 (almost latest 2.5.19).
My problem is that taking a picture is 45 seconds, then another 15-20 to download it. Did you have this issue? If so, how did you get around it?